
Growing a Front Yard Food Forest from Scratch in Phoenix
Everybody has to start somewhere, and for us it was with Miles & Doris. While I’m still proud of the quality work we did on this project, there are a few things I’d do differently now. I’ll highlight those throughout the post.
Though we had done some smaller jobs already, my early conversations with Miles made it clear that this was going to be a big one. Funny enough, I was actually in France visiting my family during the design & bidding phase, and were able to get a great deal done despite the 9-hour time difference.
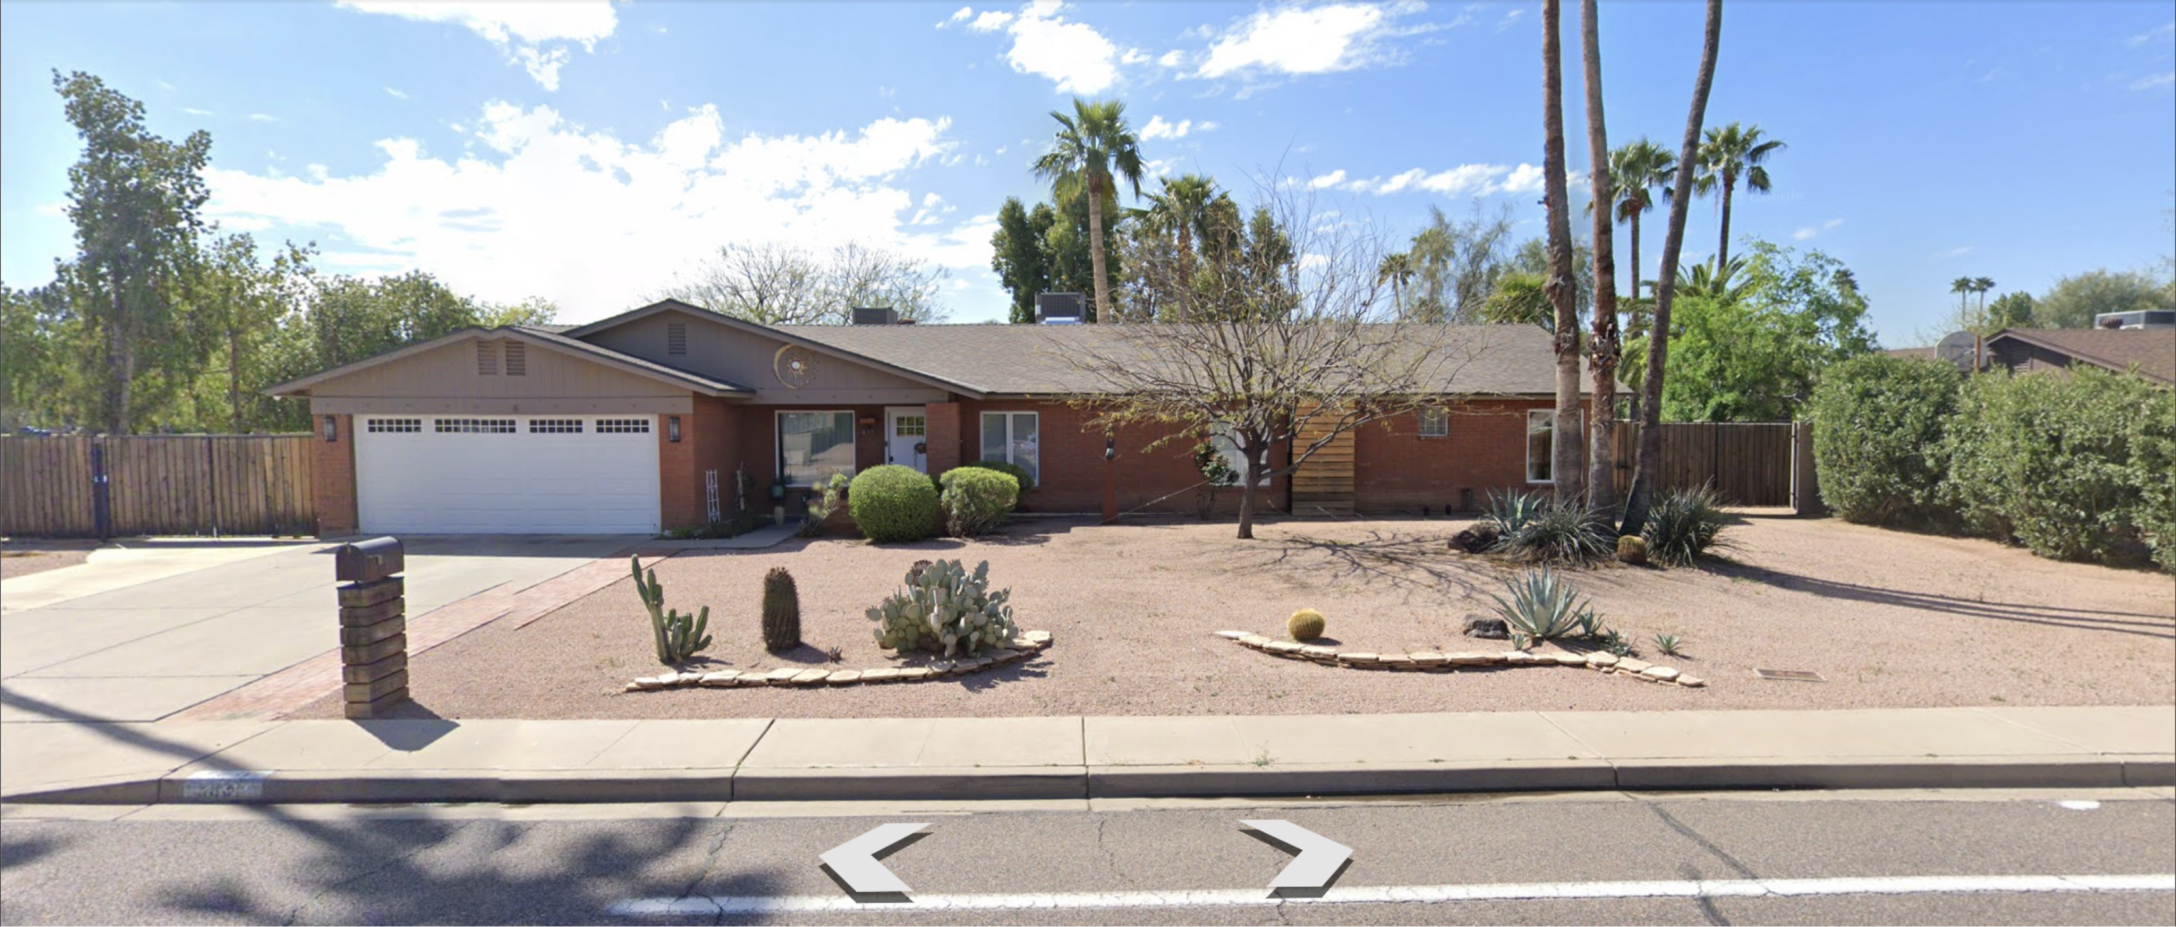
Until we began, Miles & Doris’s front yard was a poster child of the typical Phoenix Valley suburban desert landscaping: sparse, disconnected, unproductive, hot & dry. Incapable of supporting life beyond arid climate species.
This type of landscaping is, unfortunately, all too common in our massive suburban sprawl, and its effects are felt far and wide: Urban Heat Island effect increases, community connection and usability decreases, and pollution increases.
All these problems can be mitigated and reversed with a properly designed regenerative system.
Thankfully Miles already had a great vision for his front yard food forest, and it was a perfect fit right from the start. This was long before we upgraded to 3D design software, so using Figma I mocked up what we had discussed together:

passively harvesting rainwater from roughly 1,270 square feet of shingle roof,
planting out all the layers of their food forest (from roots to canopy),
irrigating the entire system from scratch, and
building a custom wraparound wood fence (had I known then what I know now, I would’ve subcontracted it… But, we learned a lot!)
Once the design was approved and finalized, we collected the deposit and got to work scheduling the job.
Tree, gravel, and construction material removals
First up: deploying our amazing arborist Jared for professional tree removal on a small Chilean mesquite tree and 6 super tall Mexican Fan palms (oh, and a dead Australian bottle on the east side). Sadly I don’t have footage of this portion of the process but it was all done in one day, and we were even able to donate the 6-foot sections of palm tree trunks to a local tiki maker!
How I’d do this differently now:
The small mesquite could have been useful as a stage-1 successor, helping to create a better microclimate with which to establish other species. We decided to remove it because the client wanted full coverage of fruit trees, and they have all done great throughout their first summer, but in retrospect we may have kept the mesquite just another 2-3 years before chopping it down to allow the fruit trees to fill in and harvest all that fixed nitrogen.
Once Jared and the elite tree crew finished up, the next step was to remove gravel and the brick retaining wall around the front patio that Miles wanted to get rid of. We were lucky to have our man Mike and his magical machine (front loader w/ unique attachments) to knock this out quickly and efficiently!
Post materials removal, it was time to begin the stuff we get most excited about.
Designing passive rainwater collection & smart irrigation
With the help of his bobcat, Mike traced out the broad strokes of the winding arroyo system that would bring rainwater from the base of the downspouts to the final infiltration basin—and the overflow channel to the street. As we say: Always plan the overflow!
Hand-placing rip-rap (heavy rock) was the next step, which we use whenever possible to prevent erosion and collapse of sidewalls.
How I’d do this differently now:
I ran the arroyos nonstop through the front yard, which means some type of bridge is required to cross—which can be inconvenient especially with wheeled equipment. I’ve learned it’s better UX design for the homeowner when we run the downspouts into underground conveyance first for about 10 ft, then pop up into rocked arroyos further into the landscape.
While this took place we also ran a brand-new 2-zone irrigation system throughout the yard to support the establishment and long-term growth of Miles & Doris’s fruit trees, perennial vegetables, and support species.
We used our famous double-thick swing pipe (which nobody else in the business uses), and I learned a cool trick of the trade — marking each line with a brightly colored paint marker (along with its corresponding valve) so the homeowner (or we, during our stewardship visits) never have to guess which line is which when teeing off for new plantings.
We also discovered some bad solder points and decided to re-solder the copper piping at the water source. Thankfully Mike knew how to do that, and had the tools! If you don’t know this—irrigation should always be copper above ground, not PVC, to maximize longevity in the sun.
To complete the irrigation system we installed a new Rachio 3 WiFi controller to run the 2 front yard zones, and another one in the back to run the existing 4 zones there. I love the Rachio, but any smart timer that has an app and connects to the weather station network is good too.
Finally the seamless gutters went up, and we were able to complete the system and move into planting!
Planting and mulching
We planted mostly fruiting trees, along with a couple non-fruiting support trees: a Dorsett apple, a Katy apricot, Persian mulberry, clementine, lime, a Beer’s Black fig, pomegranate, 3 grape varieties cultivated for Zones 9+, Arbequina olive, Navajo blackberries, lemon gum eucalyptus, and willow acacia.
We also planted native flowering shrubs like blackfoot daisies and Angelita daisies, desert lavender, desert milkweed, and Goodding verbena. These attract the Sonoran Desert’s most active pollinators to the space, increasing fruit tree pollination and yields.
Every tall tree was double-staked, and every tree got a well around it with a mushroom bubbler to maximize water to the immediate root zone.
How I’d do this differently now:
We focused our energy on planting trees and a few pollinator support species, but it would’ve been ideal to incorporate additional living ground cover / shrub layer plantings into the system right from the get-go. The more living roots you establish early on, the faster the soil organic content builds and the healthier the entire system becomes. These can be annual cover crops or perennial species. Either way, maximizing the living plant structure of your food forest as early as possible is critical to soil building!
We spread an entire ChipDrop throughout the front yard at a depth of 3-6”, and could have easily done a second one for extra protection. If you did nothing else, putting 6-12” of wood chip mulch on top of your bare soil would singlehandedly improve the soil microbiome tenfold within a year.
Fencing & finalizing
The custom wood fence surrounding the entire front yard was the most challenging and frustrating part of this entire project. I had virtually no experience in wood working or tools for the job, and completing it constituted most of my Home Depot runs!
By the grace of God and a lot of hard work from our team, it turned out high quality and has become the eye-catcher of the neighborhood for everyone walking and driving by.
•••

Overall, this was a beast of a project and the major lesson I learned was to focus on my superpowers in future projects—and let experts like Clint handle the on-site transformation! 🤣
We are excited to steward Miles & Doris’s food forest over the coming years to help them achieve maximum fruit production, shade, comfort, and overall aliveness of their system. Compared to the barren landscapes all around, their oasis of a yard will bear witness as a flagship of what’s possible when the right vision and execution come together.